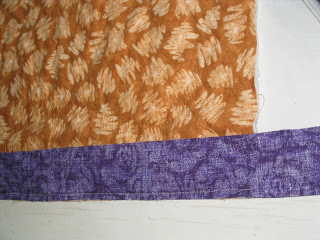
1) The first thing you do is cut all layers to an even edge.

2) On the first side, place binding strip on the back side, right sides together and pin in place right at the top of the side just to get it anchored. I match the edges while I'm actually at the sewing machine for the rest. Remember to extend the binding a couple of inches at each end to give yourself some maneuvering room when you make the corners. Sew the binding on side one. Quarter inch seam.

3) This is how side #1 looks with the seam done.

4) Now do the same on the side opposite to side 1. Then do sides #3 and 4. Again, give yourself some maneuvering room at the corners by extending the binding a couple of inches at each end. When you get to side #3, start sewing the binding right at the seam line of the opposing side (by my nail, not the pin:-)

5) Now, all sides have binding sewn in place. Turn the quilt over to the right side.

6) Now you can cut the extra binding at the corners to make a perfect square corner as it lies flat on your surface. Roll and fold over on an angle and pin the corners for the mitered edge. You will see that the quarter inch fold of the two side seams that is now part of the corner of binding will have to be pinned or ironed into place.

7) On one side begin by folding under a quarter inch on the binding to give yourself a finished edge and place the edge right on or slightly over the seam line . Pin in place on all sides. (You'll notice the corners form a natural "v" when you pin the sides down.)


No comments:
Post a Comment